-

-
 0
0
0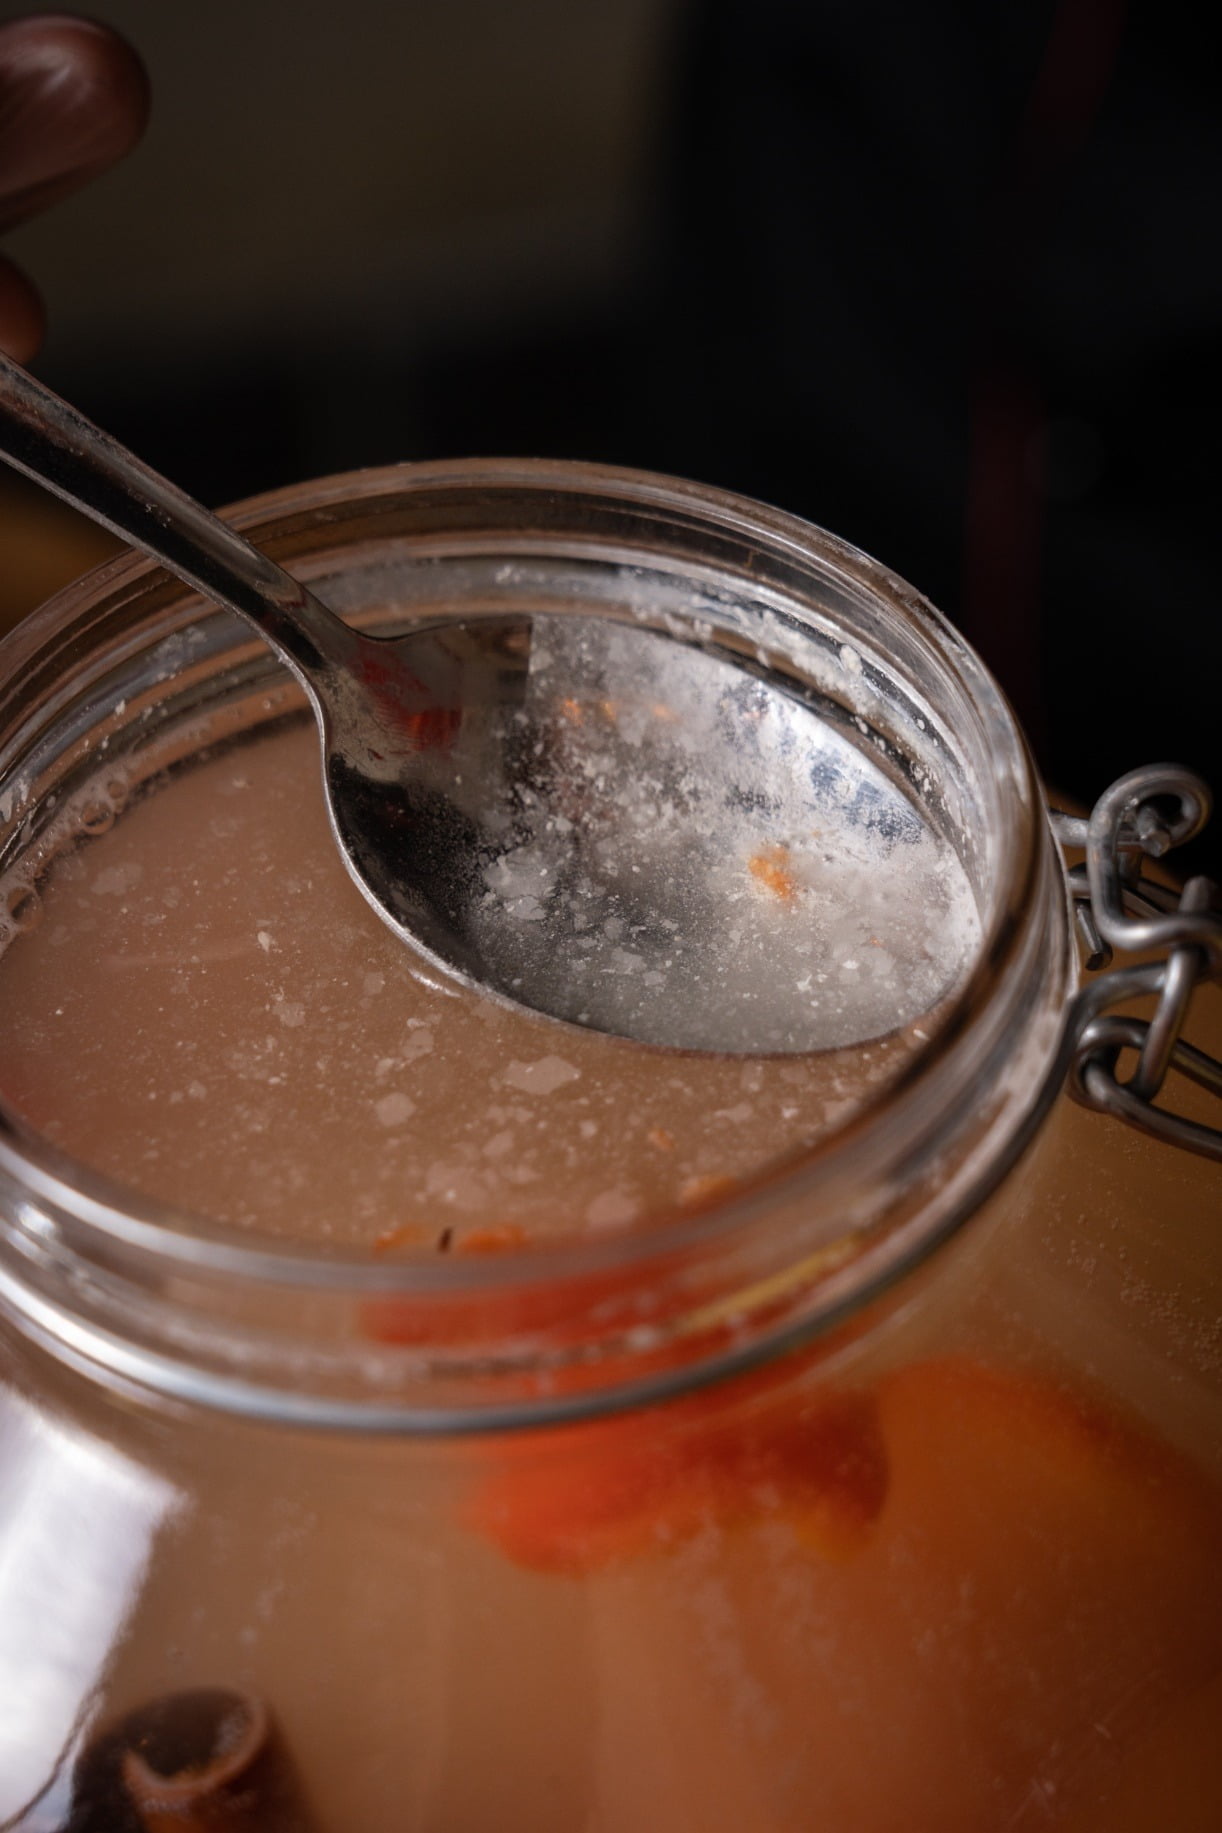
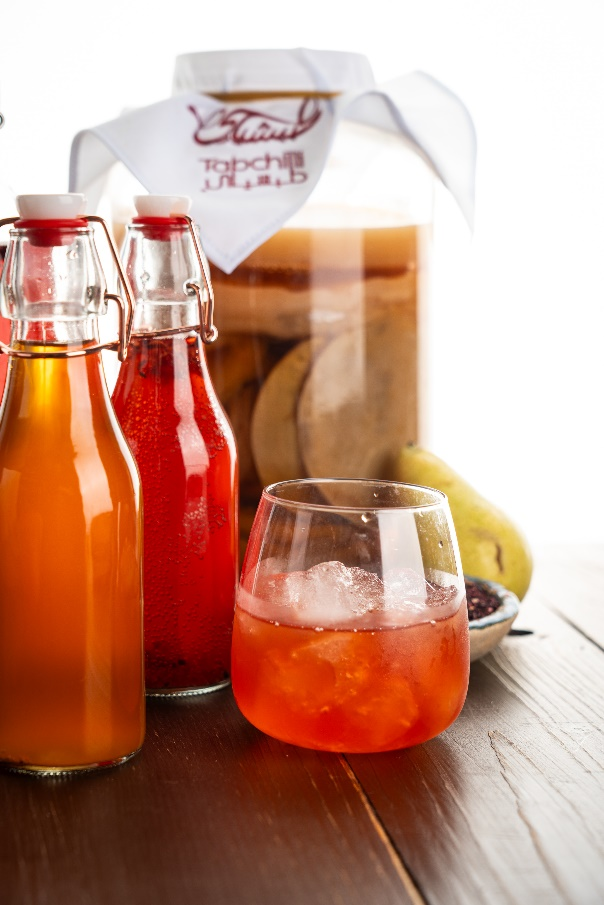
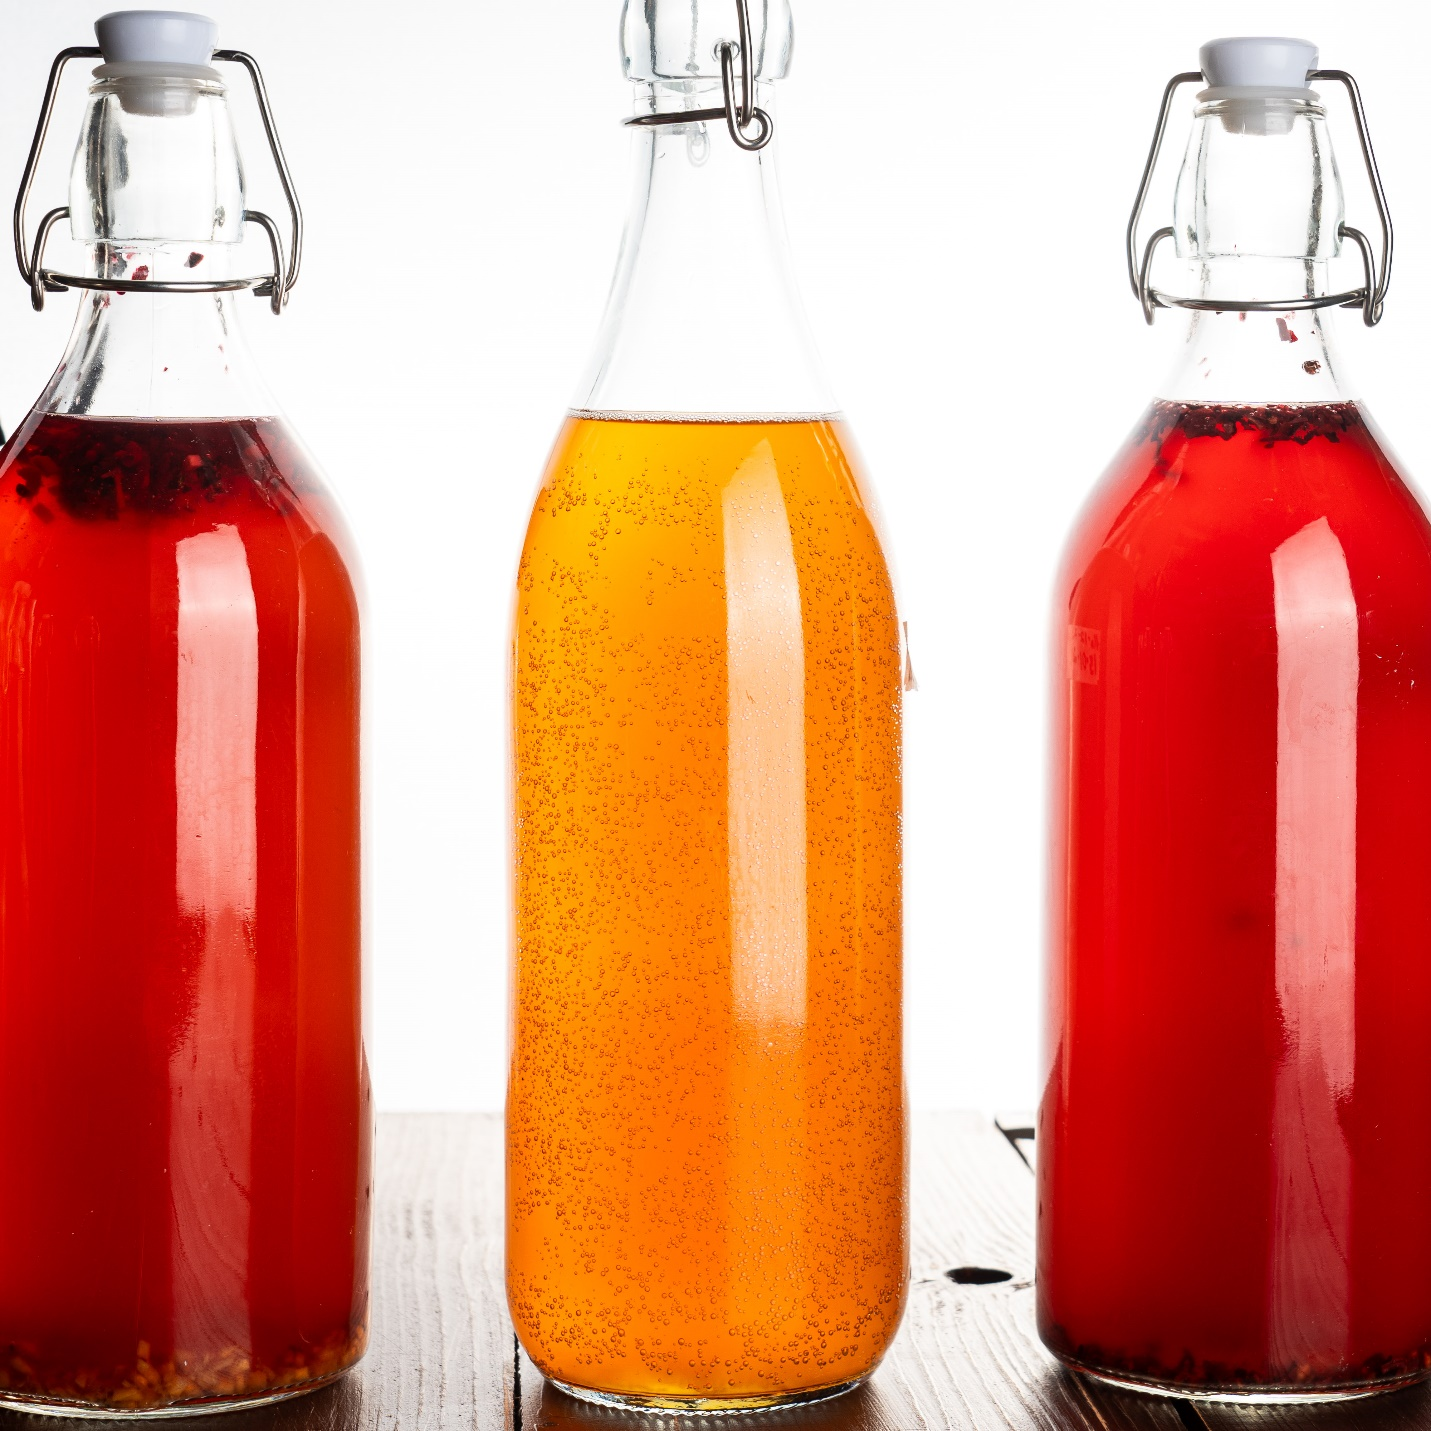
Kombucha is a fizzy, tangy, and delicious fermented tea drink that’s not only refreshing but also packed with probiotics, antioxidants, and other health benefits. Brewing kombucha at home is surprisingly easy, and with just a few ingredients and some patience, you can create your own personalized flavors. Whether you’re new to brewing or looking for the best way to make kombucha in Dubai, this guide will walk you through the entire process, step-by-step.
If you’re wondering where to get started and looking for Kombucha SCOBY in Dubai, we’ll cover that too! Ready to get brewing?

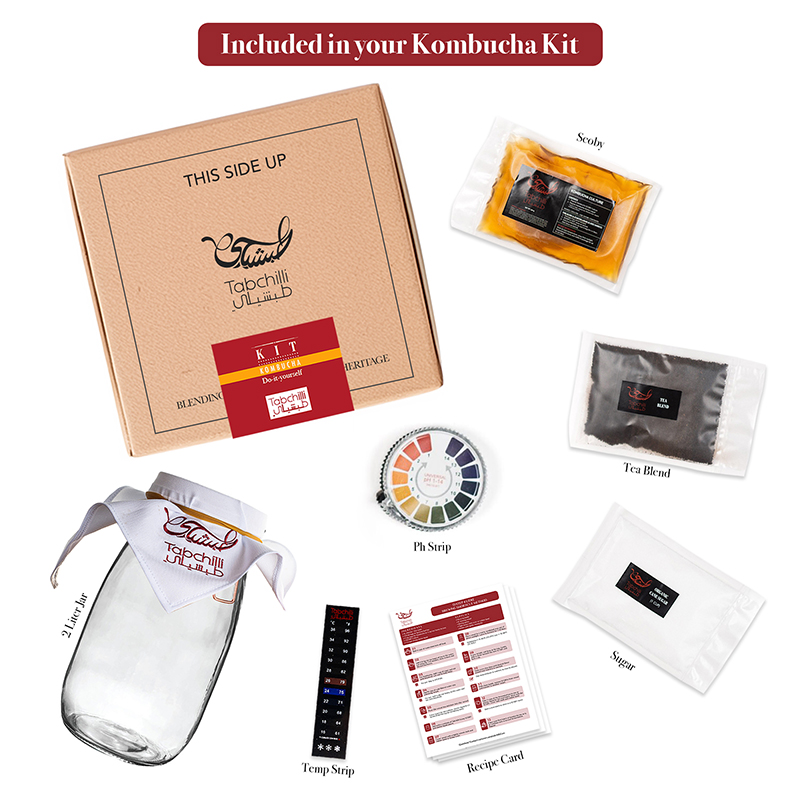
To start brewing kombucha, you only need a handful of ingredients and a few basic tools. Here’s a quick list:
i. Black or Green Tea: 4-5 tea bags (or 2 tablespoons of loose-leaf tea). Black tea is most common, but green tea works as well.
ii. Sugar: 1 cup of white granulated sugar. Avoid alternatives like honey or artificial sweeteners, as they can disrupt the fermentation process.
iii. Filtered Water: 3.5 liters (or 14 cups).
iv. Kombucha Starter Tea: 1 cup of plain, unflavored kombucha from a previous batch or store-bought raw kombucha.
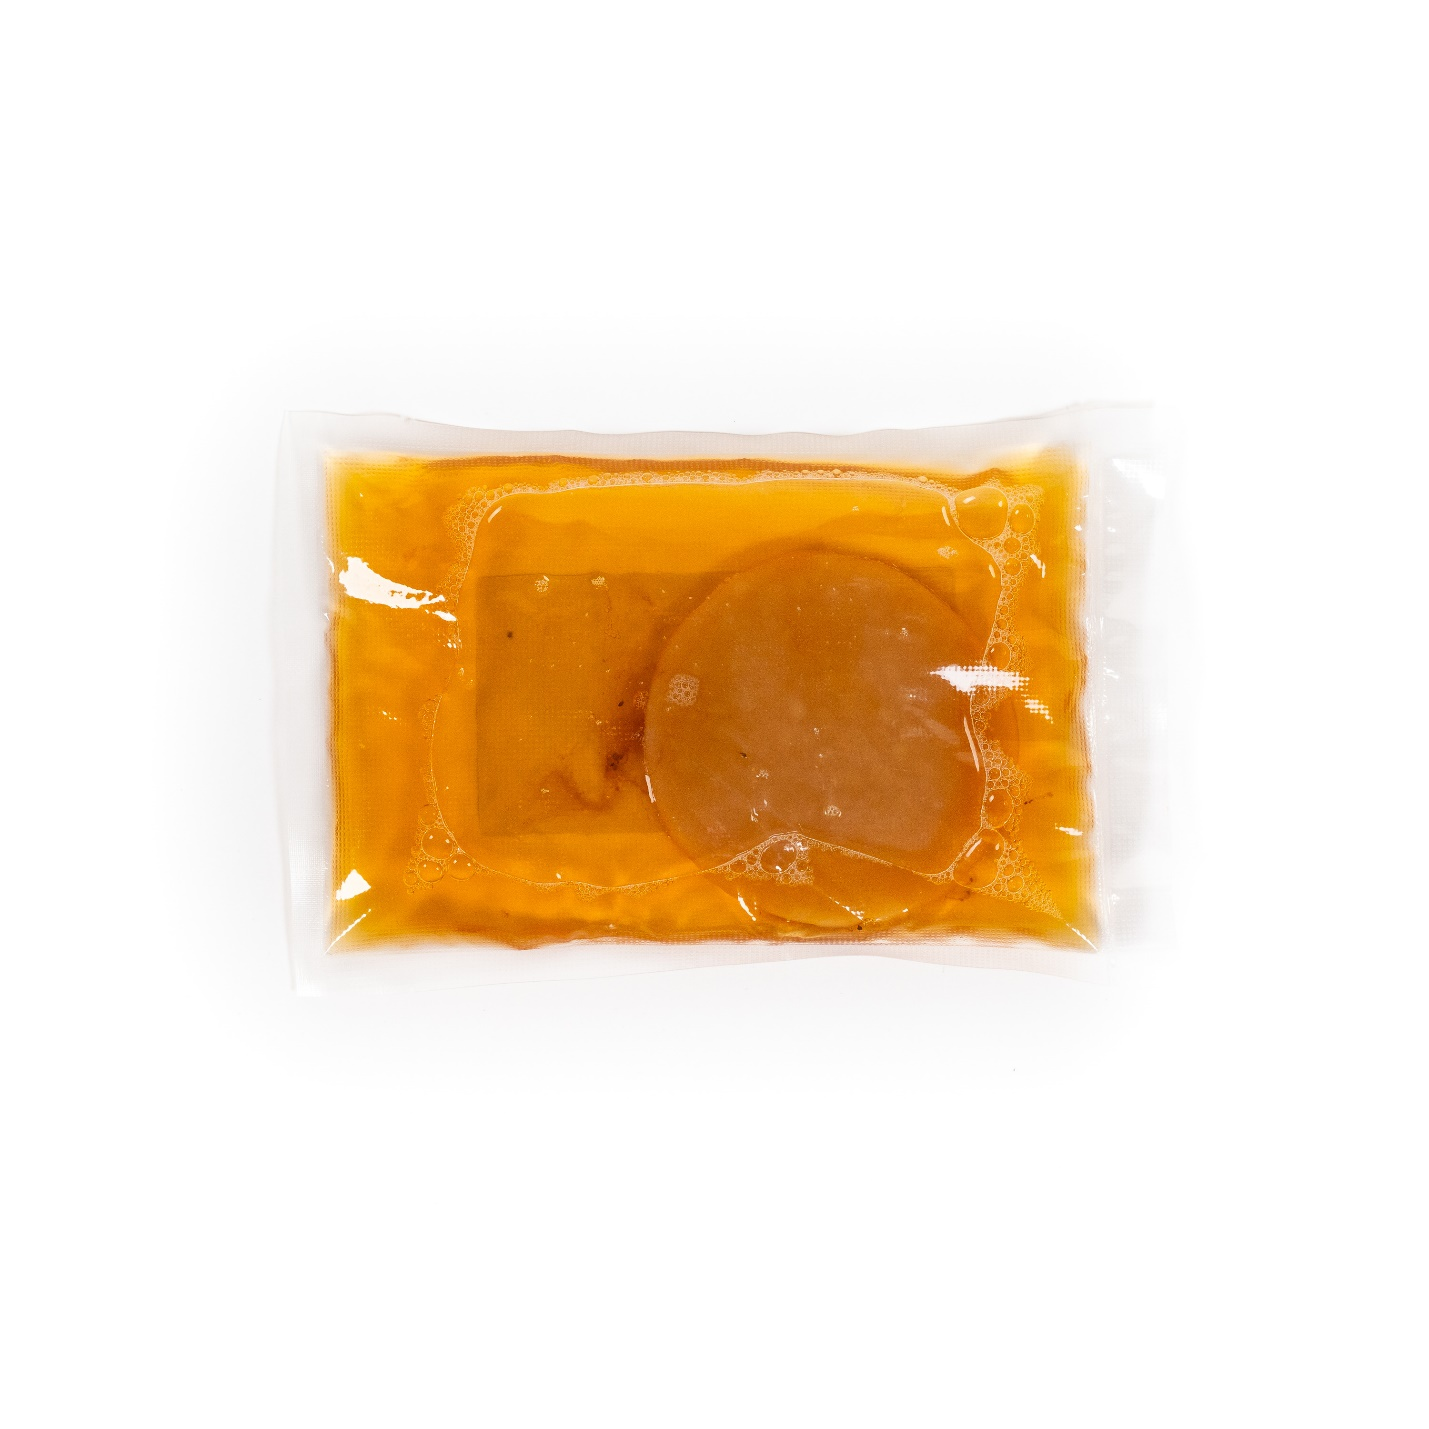
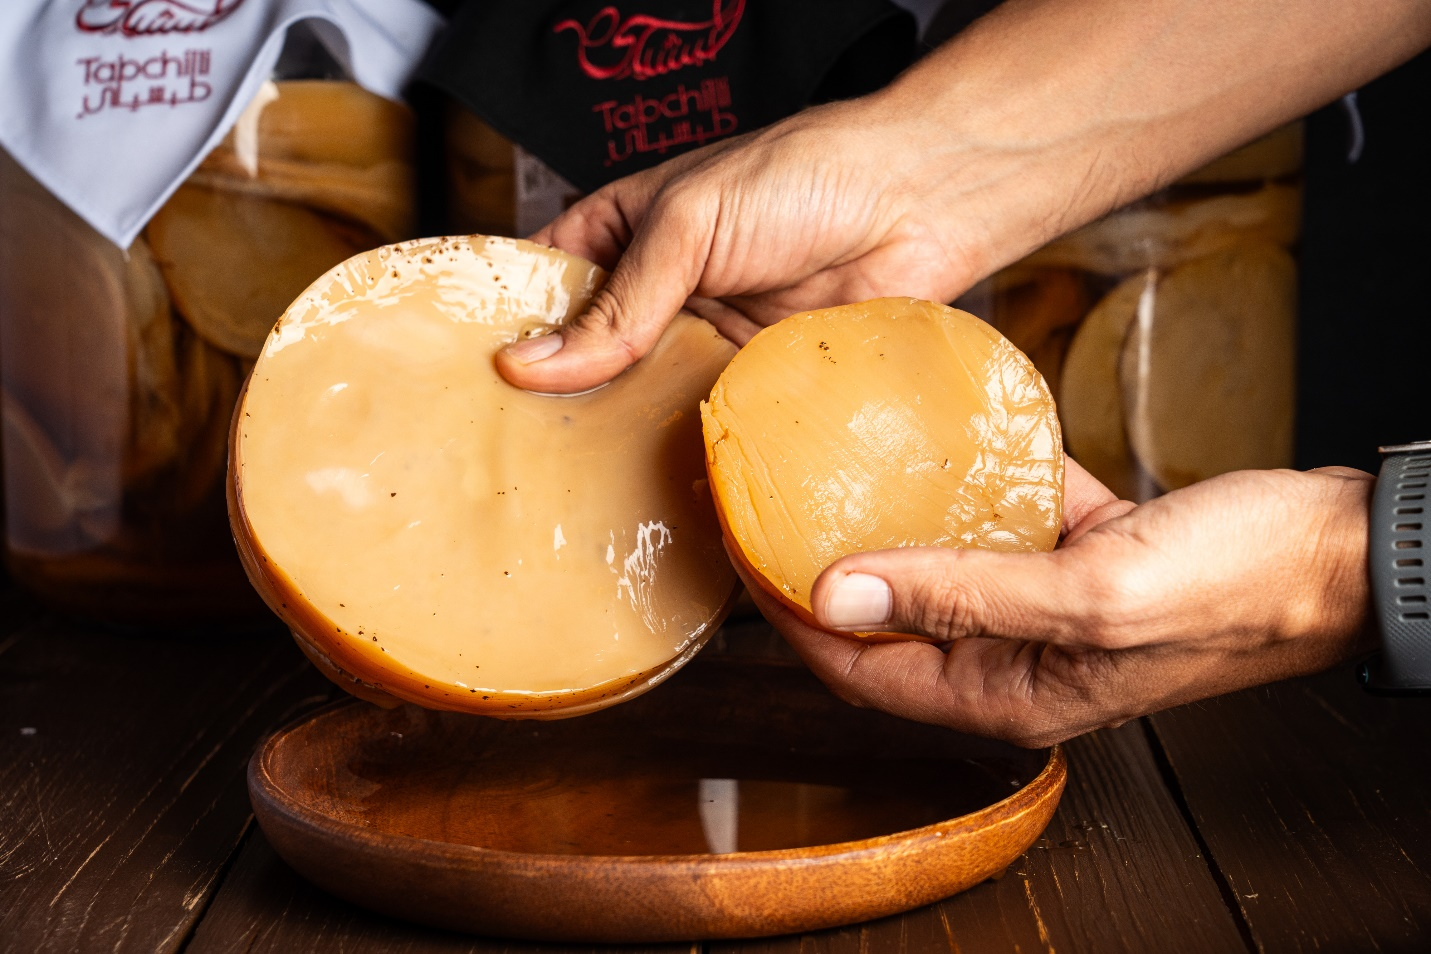
v. SCOBY: 1 healthy Kombucha SCOBY (Symbiotic Culture of Bacteria and Yeast). If you’re in Dubai, sourcing a high-quality SCOBY in Dubai is crucial for a good brew.
i. Large Pot: For boiling water and brewing the tea.
ii. 1-Gallon Glass Jar: A clean, wide-mouth glass jar for fermenting your kombucha. Avoid using metal or plastic containers, as they can interfere with fermentation.
iii. Breathable Cloth or Paper Towel: To cover the jar and prevent contaminants.
iv. Rubber Band: To secure the cloth and keep the jar covered.
v. Wooden Spoon: For stirring the sweetened tea.
vi. Airtight Bottles: For storing your finished kombucha and creating carbonation.
i. Boil Water: Bring 3.5 liters (or 14 cups) of filtered water to a boil in a large pot.
ii. Steep the Tea: Turn off the heat and add 4-5 tea bags or 2 tablespoons of loose-leaf tea. Let it steep for 10-15 minutes.
iii. Add the Sugar: Remove the tea bags and stir in 1 cup of granulated sugar until completely dissolved. This sweet tea will act as the base for your kombucha and feed the bacteria and yeast.
Let the sweet tea cool down to room temperature. It’s crucial to allow the tea to cool completely before adding the SCOBY, as hot tea can kill the beneficial bacteria and yeast.
i. Pour into the Glass Jar: Once cooled, pour the sweet tea into a 1-gallon glass jar.
ii. Add the Starter Tea: Add 1 cup of plain kombucha (from a previous batch or store-bought raw kombucha). The starter tea helps to acidify the mixture, preventing mold and promoting a healthy fermentation.
iii. Place the SCOBY in the Jar: Gently place your SCOBY into the jar. It may float, sink, or sit sideways-don’t worry, all positions are fine.
i. Cover the Jar: Use a breathable cloth or paper towel to cover the jar and secure it with a rubber band.
ii. Let it Ferment: Place the jar in a warm, dark spot (ideally between 21°C – 24°C) and allow it to ferment for 7-10 days. In a hot climate like Dubai, it might ferment faster, so keep an eye on the flavor.
iii. Check Daily: Taste the kombucha starting on day 7. It should be tangy with a slight sweetness. If it’s too sweet, let it ferment for a few more days. If it’s too sour, your kombucha might have over-fermented.
i. Remove the SCOBY: With clean hands, gently remove the SCOBY and place it in a clean bowl along with 1-2 cups of kombucha (this will be your starter tea for the next batch).
ii. Bottle the Kombucha: Pour the remaining kombucha into airtight bottles, leaving about 1 inch of headspace. This will create carbonation during the second fermentation.
For a fizzy, soda-like kombucha, let your bottled kombucha sit at room temperature for 2-3 days. Add a small amount of fruit or juice (like berries, ginger, or lemon) for natural carbonation and enhanced flavor.
After 2-3 days, refrigerate the bottles to slow down fermentation and enjoy your homemade kombucha!
Brewing kombucha in hot climates like Dubai can be a bit challenging. Here are a few tips to get it right:
i. Monitor Temperature: Ideal fermentation temperatures range between 21°C – 24°C. In hotter months, consider placing your kombucha in a cooler spot, such as a shaded pantry or an air-conditioned room.
ii. Shorten the Fermentation Time: Kombucha ferments faster in warmer temperatures, so taste test your batch regularly to avoid over-fermentation.
iii. Use High-Quality SCOBYs: Start with a healthy SCOBY to ensure successful fermentation. If you’re looking for the best kombucha SCOBY in Dubai, make sure to source from a reputable supplier like Tabchilli.
Ready to start brewing your own kombucha in Dubai? At Tabchilli, we provide everything you need to make kombucha at home:
i. High-Quality SCOBYs: Our fresh and active SCOBYs in Dubai are perfect for beginners and experienced brewers alike.
ii. Y Kombucha Kits: Complete kits that include all the essential ingredients and tools for a successful brew.
iii. Kombucha Workshops: Join us for hands-on workshops where you’ll learn everything from making your first batch to mastering advanced brewing techniques.
Whether you’re looking for the best kombucha supplies in Dubai or want to perfect your brewing skills,Tabchilli is here to help. Start your kombucha journey today and enjoy the benefits of this delicious, healthful drink!
Typically, kombucha is fermented for 7-10 days. In warmer climates like Dubai, the process may be shorter (5-7 days) due to the faster activity of the bacteria and yeast.
It’s best to use plain black or green tea without added flavors or oils, as these can interfere with fermentation.
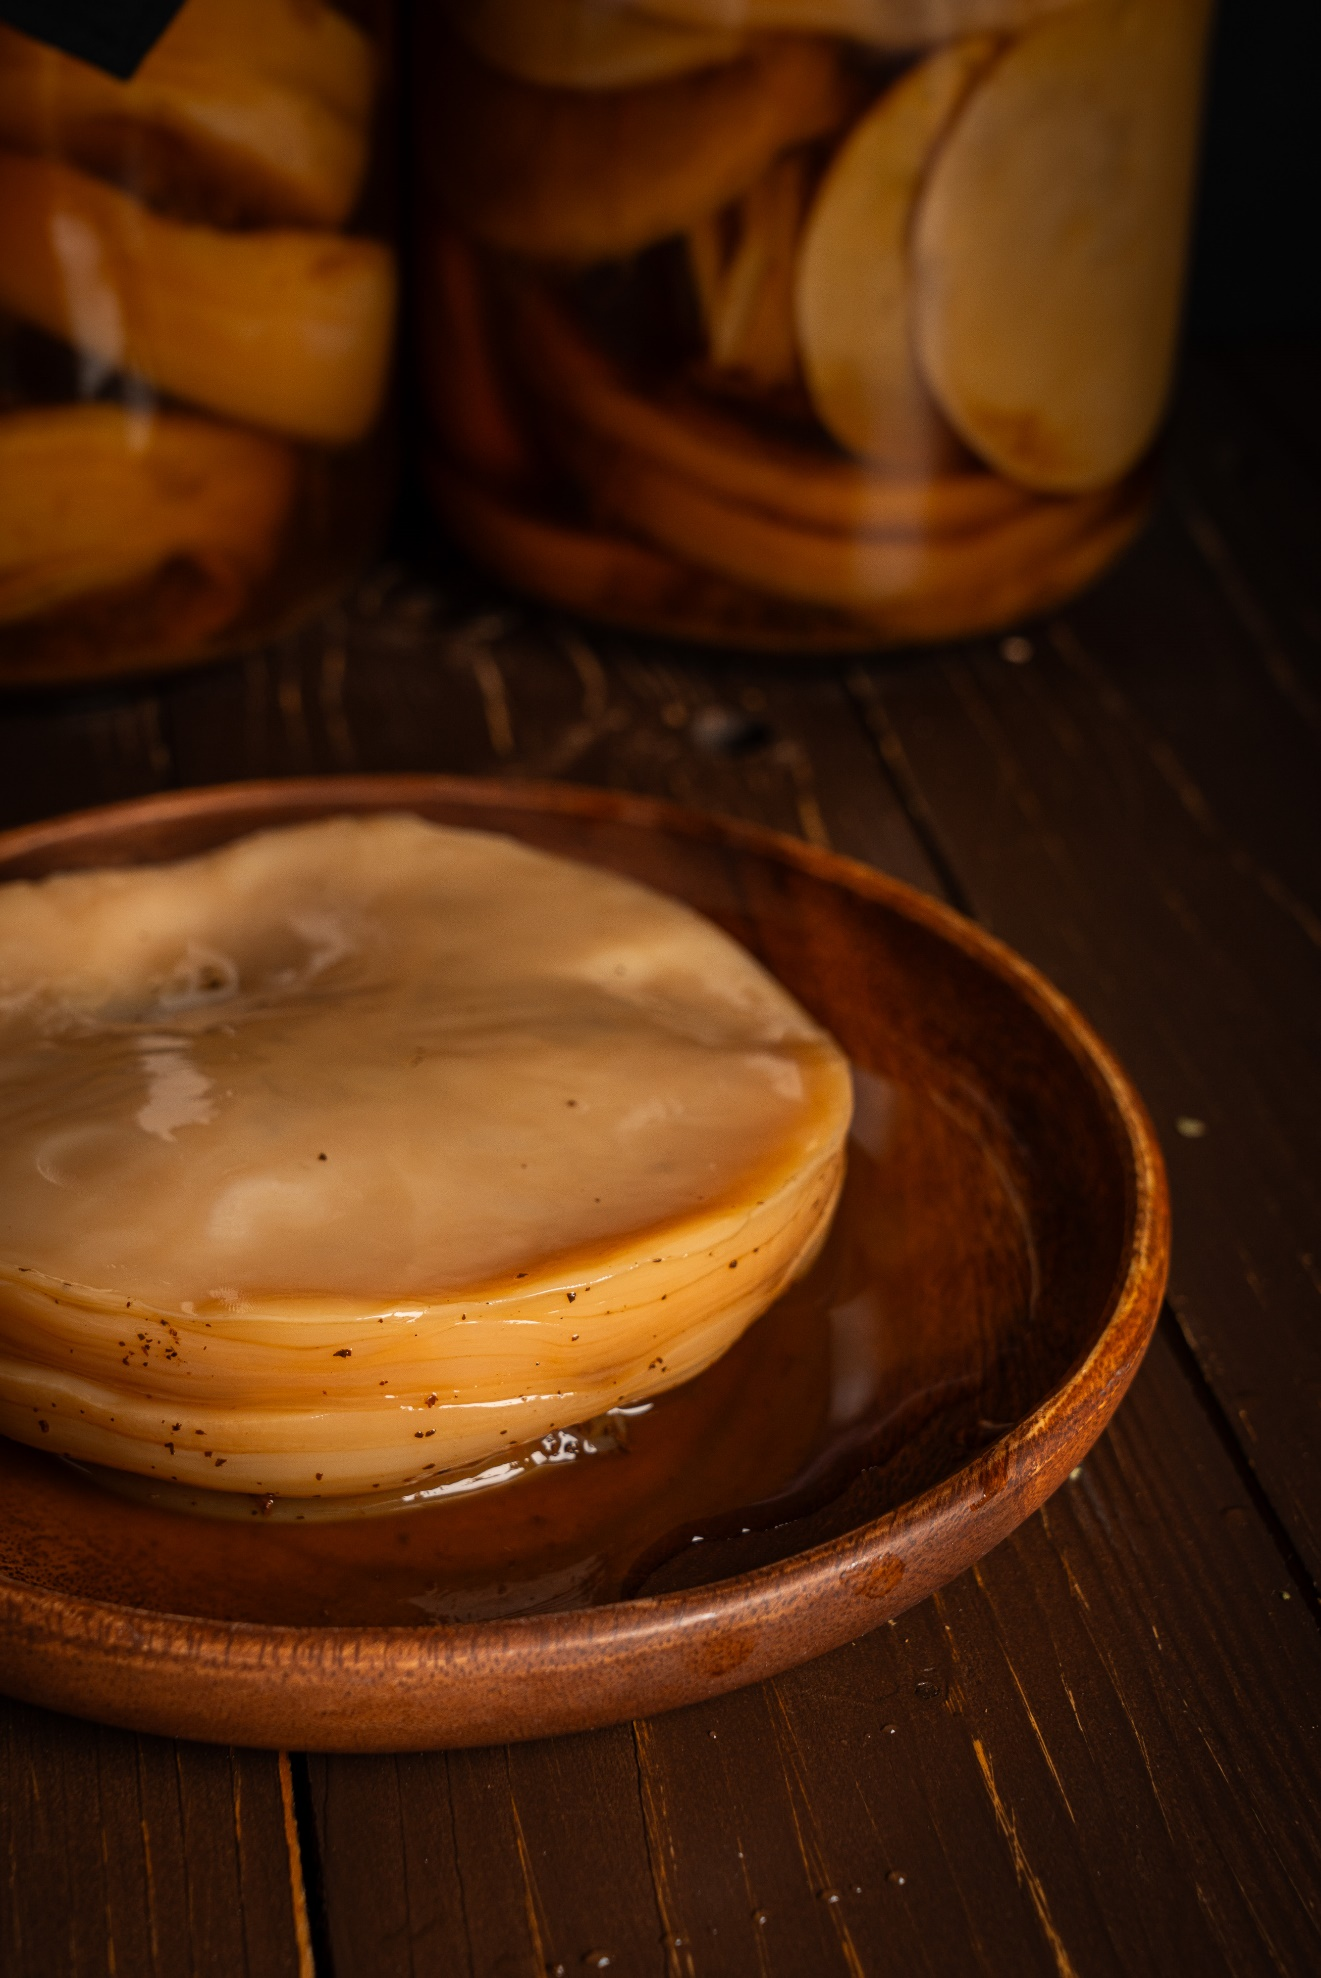
A healthy SCOBY is thick, rubbery, and slightly opaque. If your SCOBY has black or green mold spots, discard the batch and start over.
If your kombucha has over-fermented and tastes too sour, you can use it as a starter tea for your next batch or dilute it with sweet tea to balance the flavor.
It’s not recommended to use honey as a substitute for sugar in the primary fermentation because it can disrupt the balance of the SCOBY. Stick to plain white sugar for best results.
Kombucha, a fermented tea drink, has been growing in popularity due to its potential health benefits and refreshing, tangy flavor. It’s made using a SCOBY (Symbiotic Culture of Bacteria and Yeast), which ferments sweetened tea, converting the sugars into acetic acid and other beneficial compounds. This process results in a beverage rich in probiotics, organic acids, and antioxidants that can support various aspects of health.

Kombucha is created through a dual fermentation process involving both yeast and bacteria:
i. Yeast Fermentation: The yeast component of the SCOBY first converts the sugars in the sweet tea into alcohol.
ii. Bacterial Fermentation: Acetic acid bacteria then convert the alcohol into acetic acid, producing the tart flavor and slight vinegary aroma characteristic of kombucha[1]
The main types of bacteria involved in kombucha fermentation include:
i. Acetobacter: This bacteria oxidizes ethanol (alcohol) into acetic acid, giving kombucha its signature tangy taste.
ii. Gluconacetobacter xylinus: It is responsible for forming the cellulose structure that makes up the SCOBY.
iii. Lactic Acid Bacteria: These bacteria produce lactic acid, which adds to the acidic environment and contributes to gut health[2].
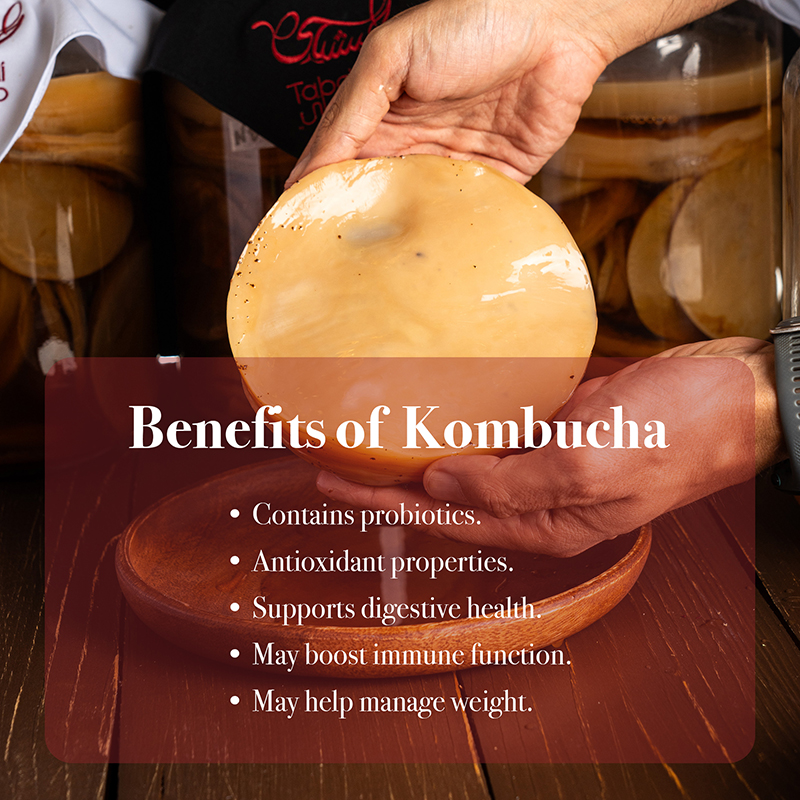
Although research on kombucha is still emerging, several studies and anecdotal evidence suggest the following potential health benefits:
i. Supports Gut Health: The probiotics in kombucha can help promote a healthy gut microbiome, similar to the effects of yogurt and kefir. Probiotics aid in digestion, alleviate symptoms of irritable bowel syndrome (IBS), and enhance overall gut health (University Health Center).
ii. Rich in Antioxidants: Kombucha, particularly when made with green tea, contains high levels of polyphenols and other antioxidants that help protect the body from oxidative stress and reduce inflammation[1]
iii. May Help Manage Blood Sugar Levels: A small clinical trial from Georgetown University found that people with Type 2 diabetes who consumed kombucha daily for four weeks saw significant reductions in their fasting blood glucose levels. While these results are promising, more research is needed to confirm this benefit (School of Health)
iv. Supports Liver Function: Kombucha has been linked to liver health due to its high levels of antioxidants, which may protect against damage and aid in detoxification[1]
v. Potential Immune Support : The various strains of bacteria and yeasts, along with antioxidants and polyphenols, can help support immune function and reduce inflammation[1]
To safely enjoy the benefits of kombucha, it’s essential to start slowly and monitor your body’s response:
i. Start Small: Begin with a small amount, around 4 ounces per day, and gradually increase your intake if no adverse effects occur [2]
ii. Best Time to Drink: Many people find that kombucha is a refreshing alternative to sugary sodas or an excellent mid-afternoon pick-me-up. Its natural effervescence and tangy flavor make it a great option to enjoy with meals.
iii. Pair with Other Foods: You can drink kombucha alongside meals to help aid digestion, especially after eating a heavy or rich meal. Alternatively, sip it as a refreshing beverage during the day.
While kombucha is generally safe, certain precautions should be taken:
i. Moderation is Key: Excessive consumption of kombucha can lead to gastrointestinal discomfort due to its acidity and active bacterial cultures. Stick to a daily limit of 8-16 ounces [1].
ii. Alcohol Content: Kombucha can contain small amounts of alcohol (usually below 0.5%). If you’re making kombucha at home, be cautious, as alcohol levels can vary.Pregnant women, children, and those sensitive to alcohol should avoid homemade kombucha [2].
iii. Risk of Contamination: If not properly brewed, kombucha can become contaminated with harmful bacteria or mold. Ensure you use sterilized equipment and store your kombucha in a cool, dark place during fermentation.
There are numerous ways to incorporate kombucha into your daily routine:
i. As a Daily Beverage: Enjoy a small glass in place of sugary drinks or sodas.
ii. Flavor Variations: Experiment with adding fruits like berries, ginger, or herbs like mint during the second fermentation stage to create unique flavors.
iii. In Smoothies: Blend a small amount of kombucha into your favorite fruit smoothies for a probiotic boost.
iv. As a Mocktail Base: Use kombucha as a base for non-alcoholic cocktails, adding ingredients like lemon, lime, and sparkling water.
If you’re new to kombucha brewing and based in Dubai, sourcing high-quality brewing supplies is essential. At Tabchilli, we offer everything you need to start your kombucha journey:
i. Premium SCOBYs: Our fresh and active SCOBYs in Dubai are perfect for beginners and experienced brewers.
ii. DIY Kombucha Kits: Complete kits that include all the necessary ingredients and equipment, making it easy to brew your own kombucha at home.
iii. Workshops: Join our hands-on kombucha workshops in Dubai to learn the art of kombucha brewing, from fermentation techniques to flavoring and bottling.
With our high-quality supplies and expert guidance, you’ll be brewing delicious kombucha in no time!
For more details, check out reliable sources such as the University Health Center, Georgetown University’s School of Health, and the Kendall Reagan Nutrition Center to dive deeper into the health benefits and safety of kombucha (University Health Center)-(Colorado State University) (School of Health) (Colorado State University) (Food Smart Colorado).
[1] Colorado State University — Health benefits and antioxidant properties of kombucha.
[2]Food Smart Colorado— Study on kombucha and blood sugar management.
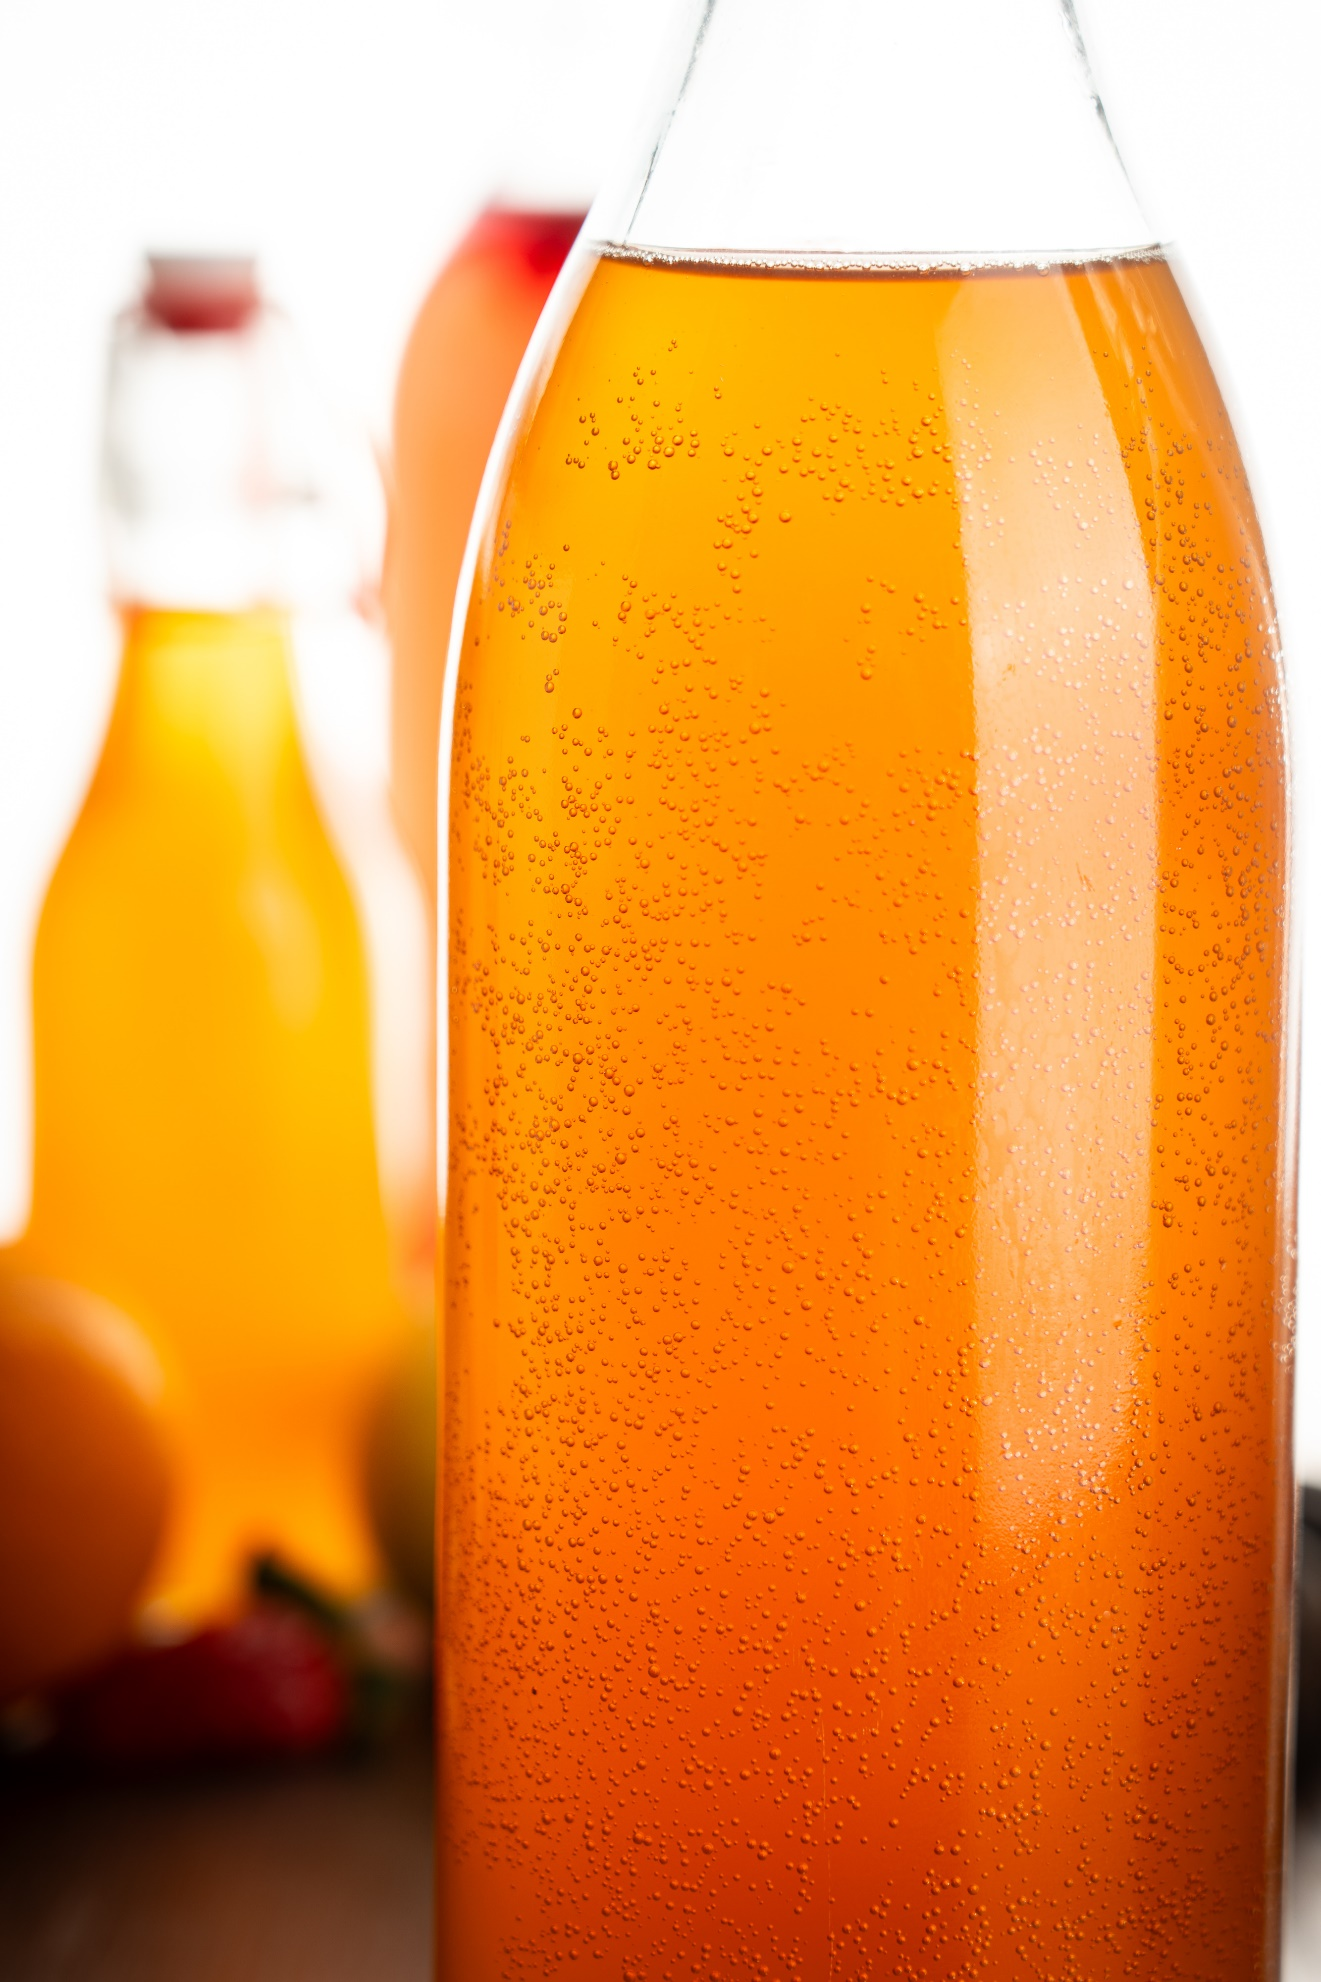
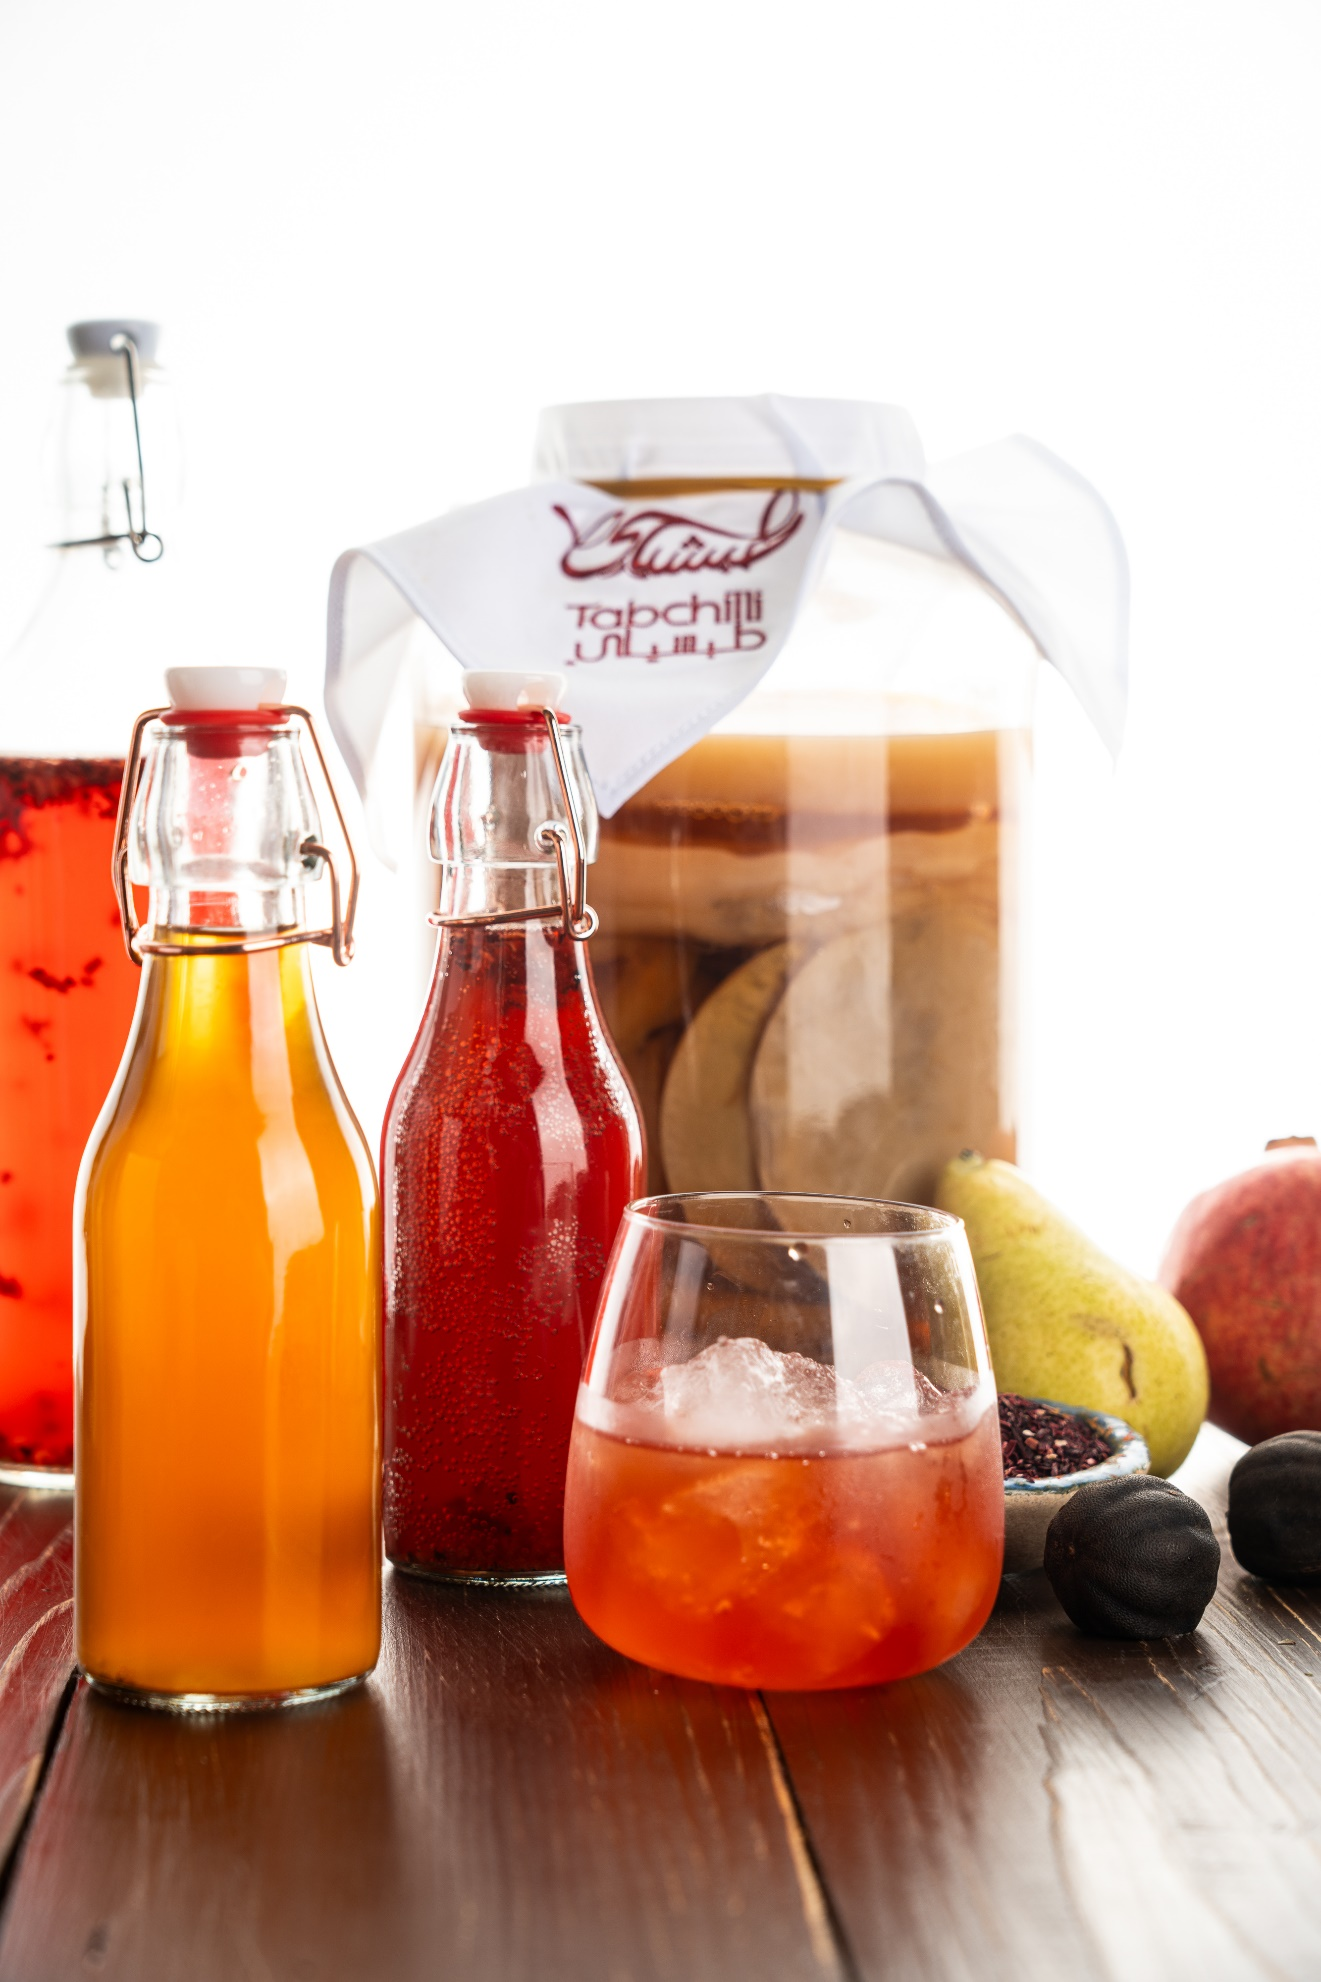
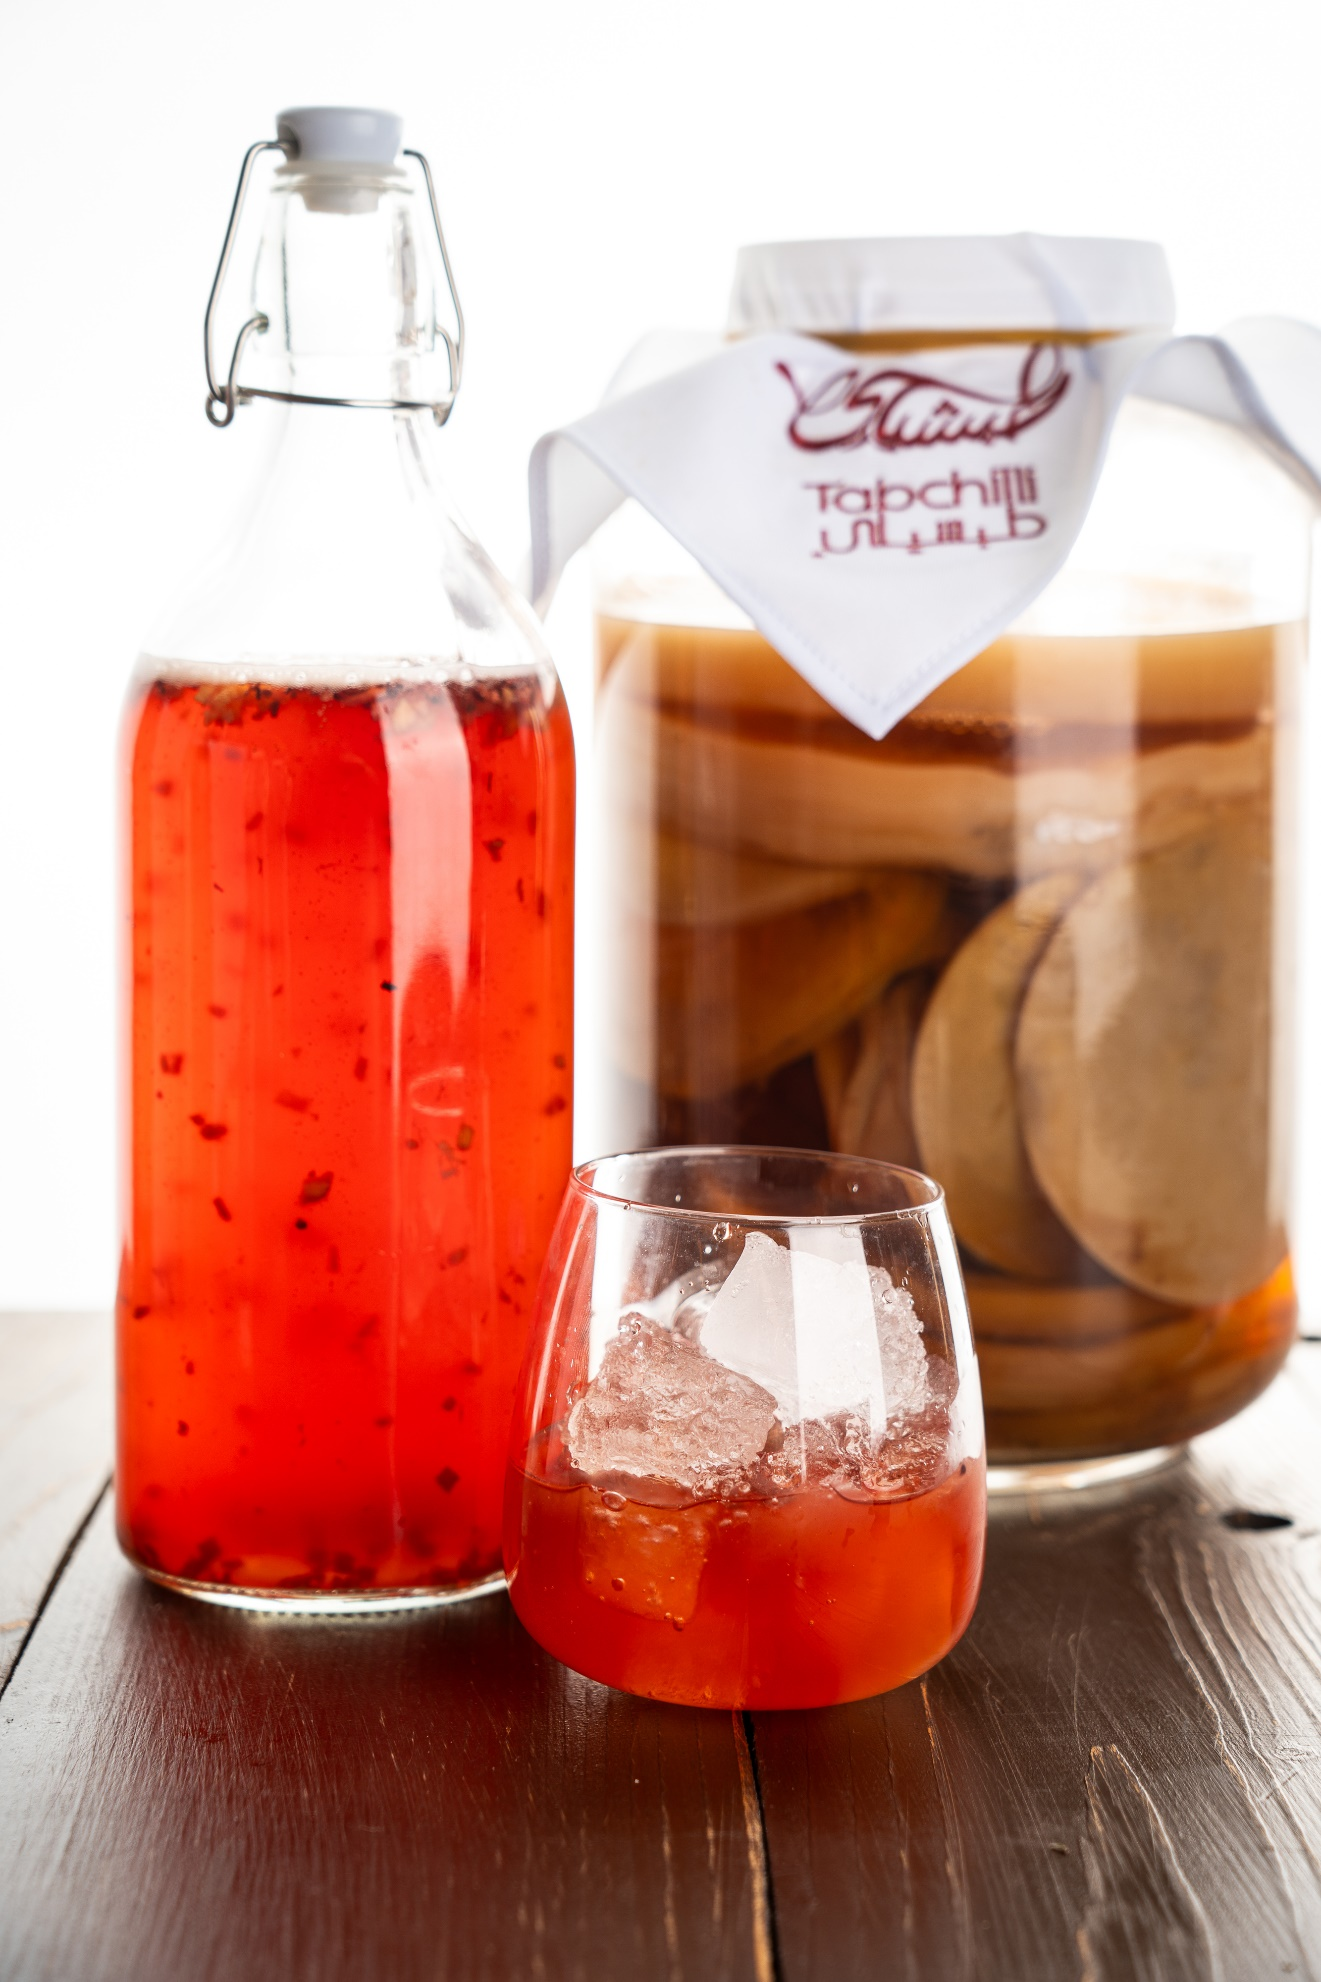
Kombucha, the fizzy and tangy fermented tea, is more than just a health drink—it’s a canvas for endless flavor possibilities. Once your first fermentation is complete, it’s time to get creative and transform your kombucha into a delicious, personalized beverage. This process, known as
second fermentation, allows you to experiment with a variety of flavors using fruits, herbs, spices, and even flowers.
However, it’s crucial to ensure safety during this process. If not done properly, carbonation levels can increase too much, leading to potentially dangerous bottle bombs. This guide will help you navigate the flavoring process while keeping safety in mind.
And for those looking to get started from scratch, Tabchilli is here to help. You can learn how to make your own kombucha with us, or even purchase a DIY kombucha kit to begin your home-brewing journey. We have everything you need, from high-quality SCOBYs to complete brewing kits!
Before diving into the flavoring process, make sure you have these essentials:
1. Brewed Kombucha: You’ll need freshly brewed kombucha from the first fermentation stage, ideally around 7–10 days old.
2. Glass Bottles with Lids: Use airtight glass bottles to trap carbonation and create fizzy, flavorful kombucha. Sturdy, pressure-resistant bottles are essential to avoid breakage.
3. Flavor Ingredients: Choose from fresh fruits, fruit juices, herbs, spices, or edible flowers.
4. Funnel: For easy pouring of kombucha and ingredients into the bottles.
5. Optional: Cheesecloth or Strainer: Useful for removing seeds or herb pieces after fermentation.
Ensure your kombucha has finished its first fermentation. It should taste tangy and slightly sweet, with a bit of effervescence. Remove the SCOBY and around 1–2 cups of kombucha to set aside as a starter for your next batch.
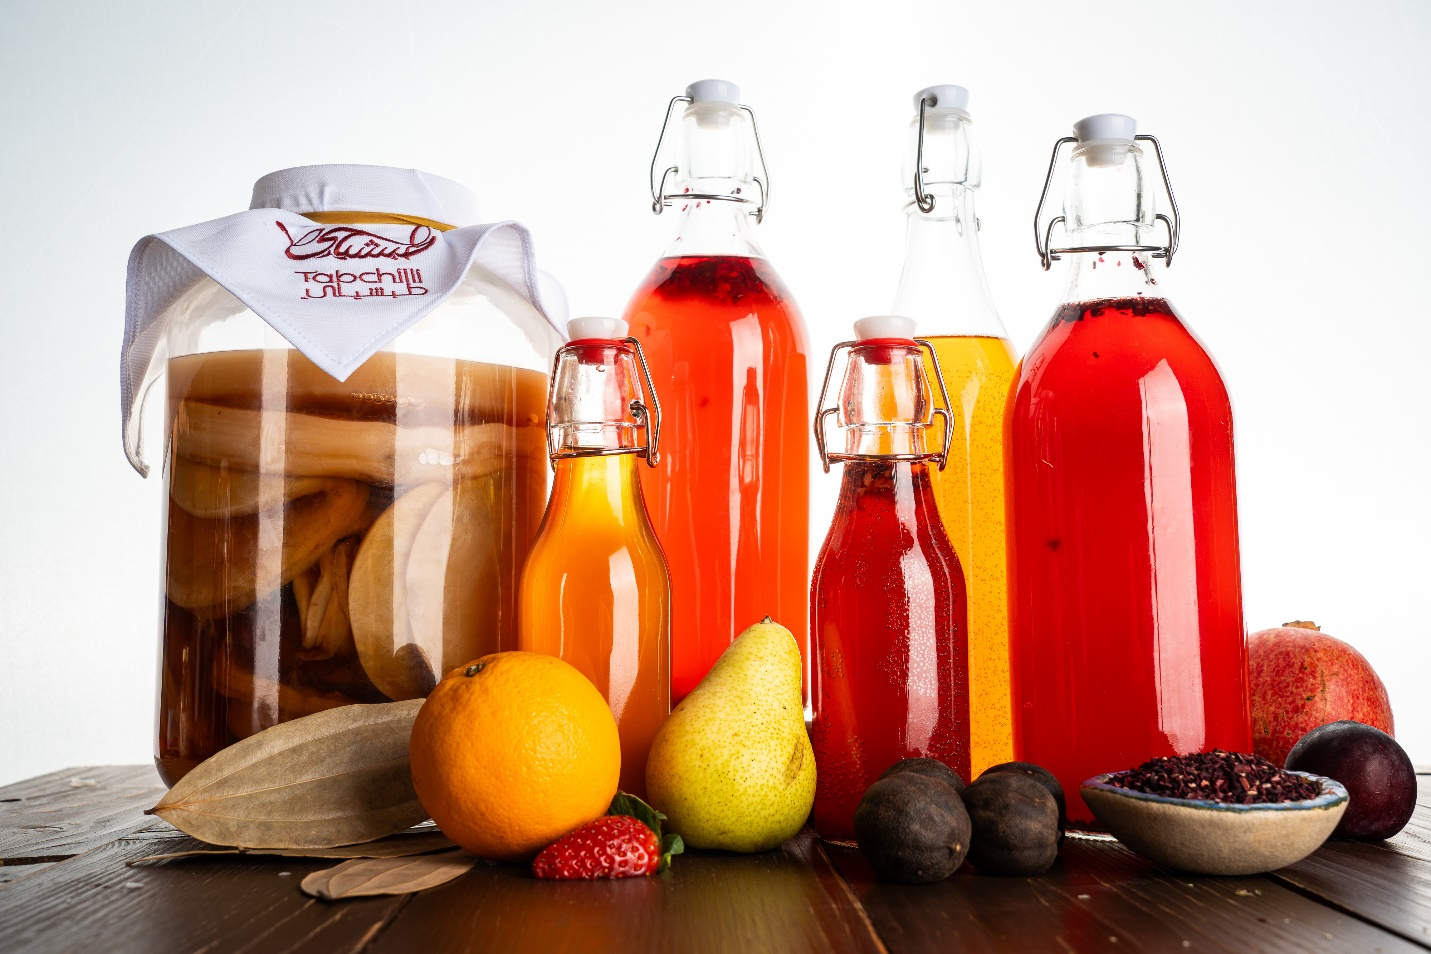
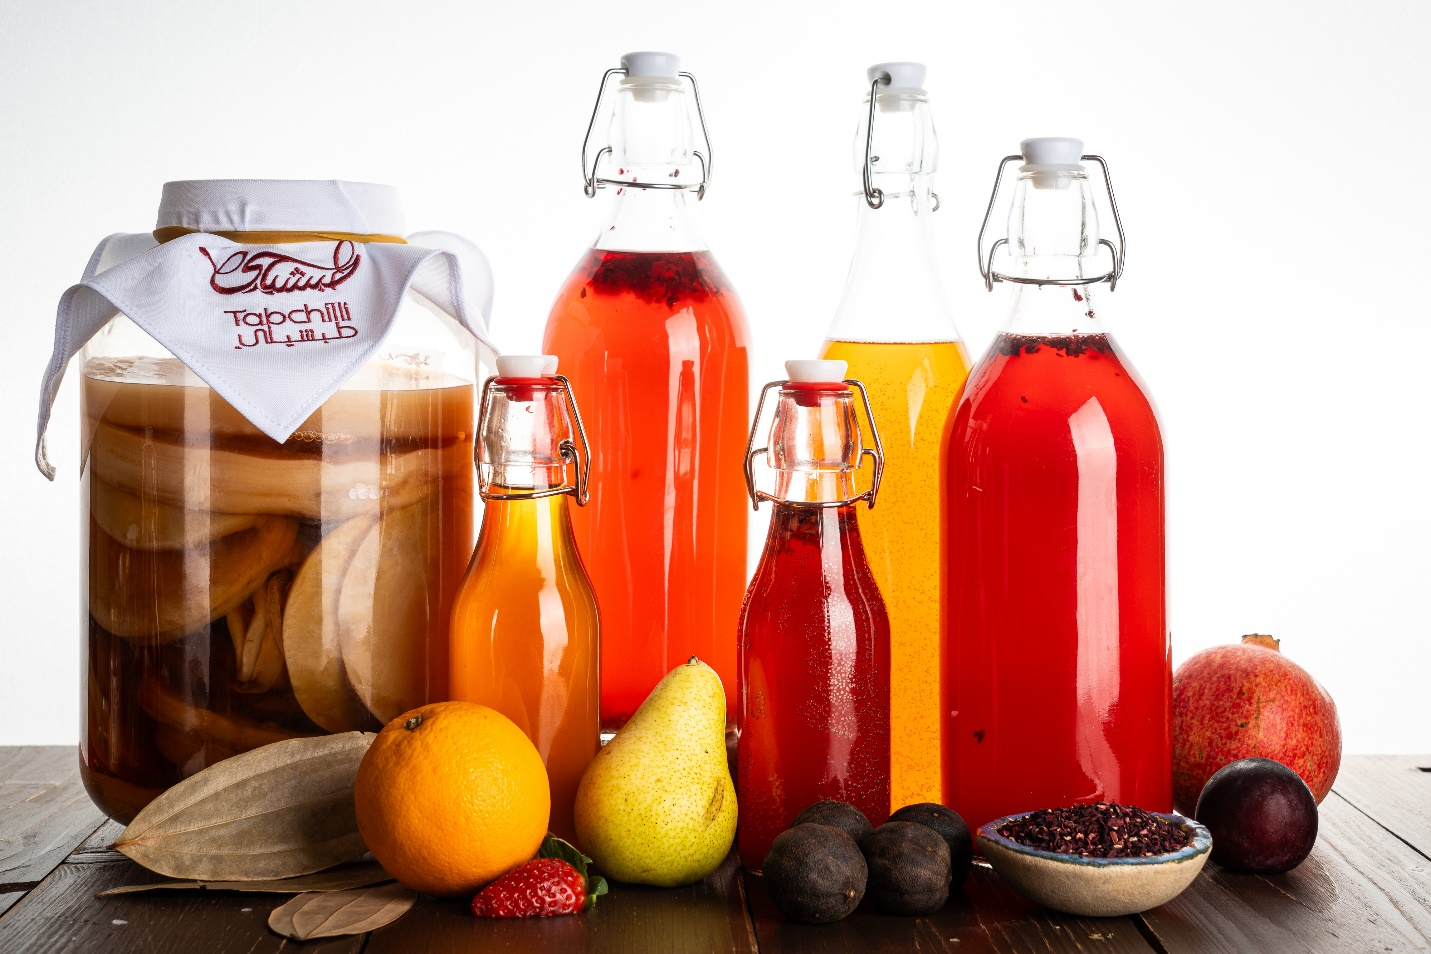
Choosing your flavors is the most exciting part. Here are some popular options:
1. Fruits: Fresh berries, citrus, apples, mango, pineapple, or even frozen fruit.
2. Herbs and Spices: Ginger, mint, basil, cinnamon, vanilla bean, and rosemary.
3. Flowers: Hibiscus, lavender, chamomile, or rose petals.
4. Juices: Freshly squeezed orange, pomegranate, or cranberry juice.
The key is to use fresh, high-quality ingredients. Experiment with different combinations, but avoid oils or extracts that can hinder fermentation.
i. Place the chosen fruits, herbs, or spices directly into clean, dry glass bottles.
ii. For fruit, chop it into small pieces to release the juices, enhancing the flavor and carbonation.
iii. Add 1–2 tablespoons of chopped fruit or 2–3 inches of fresh ginger per 16-ounce bottle. Adjust according to your flavor preference.
iv. If using herbs, lightly bruise them to release their aromatic oils.
Using a funnel, pour your brewed kombucha into the bottles, leaving about 1–2 inches of headspace at the top. This room allows for gas buildup and prevents the bottles from bursting.
i. Seal the bottles tightly with lids.
ii. Store the bottles at room temperature for 2–5 days to let the second fermentation take place.
iii. Check daily and burp the bottles (open the lid slightly) to release excess pressure—this step is crucial for preventing bottle bombs.
A bottle bomb occurs when kombucha builds up too much carbonation in a sealed bottle, causing it to explode. This can happen for a variety of reasons, including:
1. Too Much Sugar: Excess sugar in the flavoring ingredients (such as fruit juices or sweet fruits) can lead to a rapid increase in carbonation.
2. Over-Fermentation: If bottles are left at room temperature for too long without “burping,” the pressure can become dangerous.
3. Improper Bottles: Using weak or non-pressure-resistant bottles can lead to breakage under high carbonation.
1. Use Sturdy Bottles: Choose high-quality, pressure-resistant glass bottles, preferably swing-top or thick-walled options designed for brewing.
2. Burp the Bottles Daily: Open the bottles once a day to release built-up CO₂. This is especially important if using fruit juices or sweeteners.
3. Don’t Overfill: Always leave 1–2 inches of headspace in each bottle to allow for gas expansion.
4. Monitor Temperature: Keep the bottles in a cool, dark place away from direct sunlight. High temperatures accelerate carbonation.
5. Refrigerate After 2–5 Days: Transfer the bottles to the fridge once you reach your desired flavor and fizz level. Cold temperatures slow down fermentation and prevent over-carbonation.
After 2–5 days, your flavored kombucha should be ready. Open a bottle and taste it. If the flavors aren’t strong enough, let it sit for another day or two. If it’s to your liking, it’s time to stop fermentation.
Once your kombucha has the perfect flavor, transfer the bottles to the refrigerator to slow down fermentation. Chilling the kombucha also helps enhance the carbonation, giving you that refreshing, fizzy finish.
If you’re looking for inspiration, try these unique kombucha flavor combinations:
1. Raspberry-Lemon: Add fresh raspberries and a few slices of lemon.
2. Mango-Ginger: Use chopped mango and a few slices of fresh ginger for a tropical twist.
3. Pineapple-Coconut: Combine pineapple chunks and a splash of coconut water for a piña colada vibe.
1. Mint-Lime: Fresh mint leaves and lime slices create a mojito-inspired kombucha.
2. Lavender-Blueberry: Add a handful of blueberries and a teaspoon of dried lavender for a calming, aromatic flavor.
3. Basil-Strawberry: Combine sliced strawberries and a few basil leaves for a refreshing summer drink.

Flavoring kombucha is an art and science that lets you tailor your brew to your personal taste. With so many combinations to choose from, you’ll never get bored. Just remember to prioritize safety—monitor your second fermentation, burp the bottles regularly, and choose sturdy glass containers to avoid the risk of bottle bombs.
And if you’re looking for high-quality SCOBYs or kombucha supplies in Dubai, check out Tabchilli ! You can learn how to brew your own kombucha with us or purchase a DIY Kombucha Kit to start creating your own delicious flavors at home. Get started today and experience the joy of making the best kombucha in Dubai!
Sugar is an essential ingredient in the kombucha-making process. It acts as the primary fuel source for the bacteria and yeast in the SCOBY (Symbiotic Culture of Bacteria and Yeast), which then transform the sweet tea into the tangy, probiotic-rich beverage we know and love. However, finding the right balance of sugar is key-too little, and the fermentation will stall; too much, and your kombucha may be overly sweet or contain excess calories.
Whether you’re brewing kombucha at home or purchasing from a vendor in Dubai, understanding how to measure sugar levels is crucial for achieving a healthy, balanced brew.
Accurately measuring sugar in your kombucha ensures that you:
i. Control Fermentation: Sugar feeds the yeast and bacteria, influencing the speed and quality of fermentation.
ii. Achieve the Desired Flavor Profile: Too much residual sugar makes kombucha too sweet, while too little can result in an overly sour brew.
iii. Monitor Health Benefits: Low-sugar kombucha is better for health-conscious consumers and those looking to minimize sugar intake.
iv. Prevent Over-Fermentation: Measuring sugar helps avoid excessive carbonation, which can lead to dangerous bottle explosions.
For homebrewers in Dubai who want to create the perfect kombucha, knowing how to measure sugar is essential. And at Tabchilli, we offer workshops and comprehensive brewing kits to help you master the art of kombucha, from sugar measurement to flavor perfection!
There are a few key tools you can use to measure the sugar content in your kombucha accurately. Each has its own advantages, so choose the one that fits your needs:
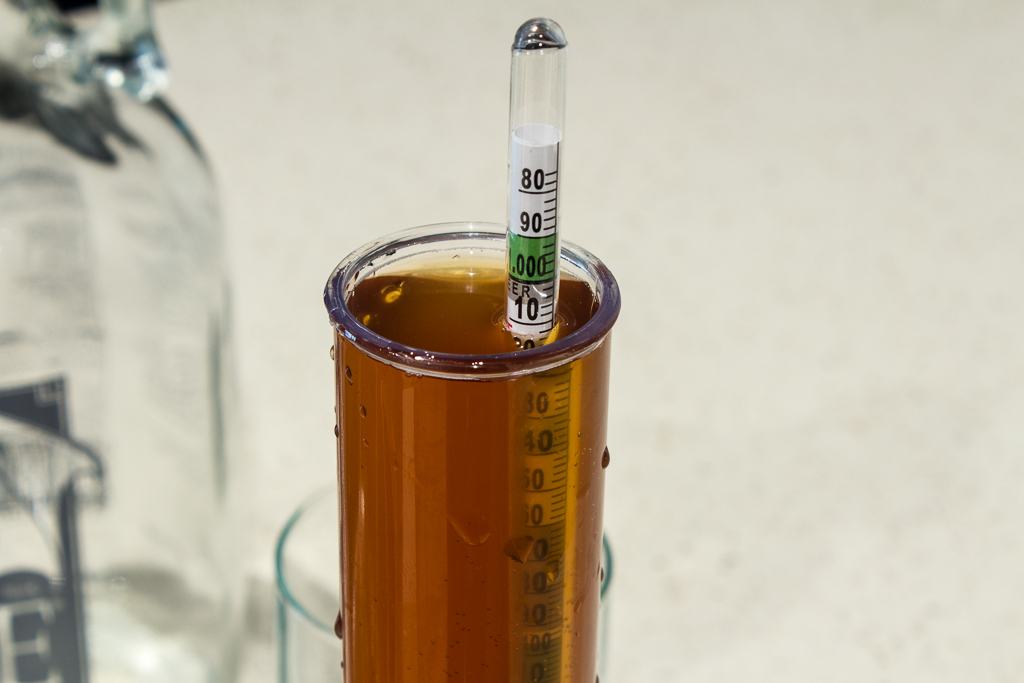
A hydrometer is a tool commonly used in brewing to measure the specific gravity (density) of a liquid. It helps determine the sugar content by measuring the density difference before and after fermentation.
1. How to Use:
i. Take an initial gravity reading before adding the SCOBY (this is your baseline sugar content).
ii. Take a second reading after fermentation is complete.
iii. Compare the two readings to calculate the amount of sugar converted during fermentation.
2. Pros: Inexpensive and effective.
3. Cons: Requires large sample volumes, which might not be ideal for small batches.
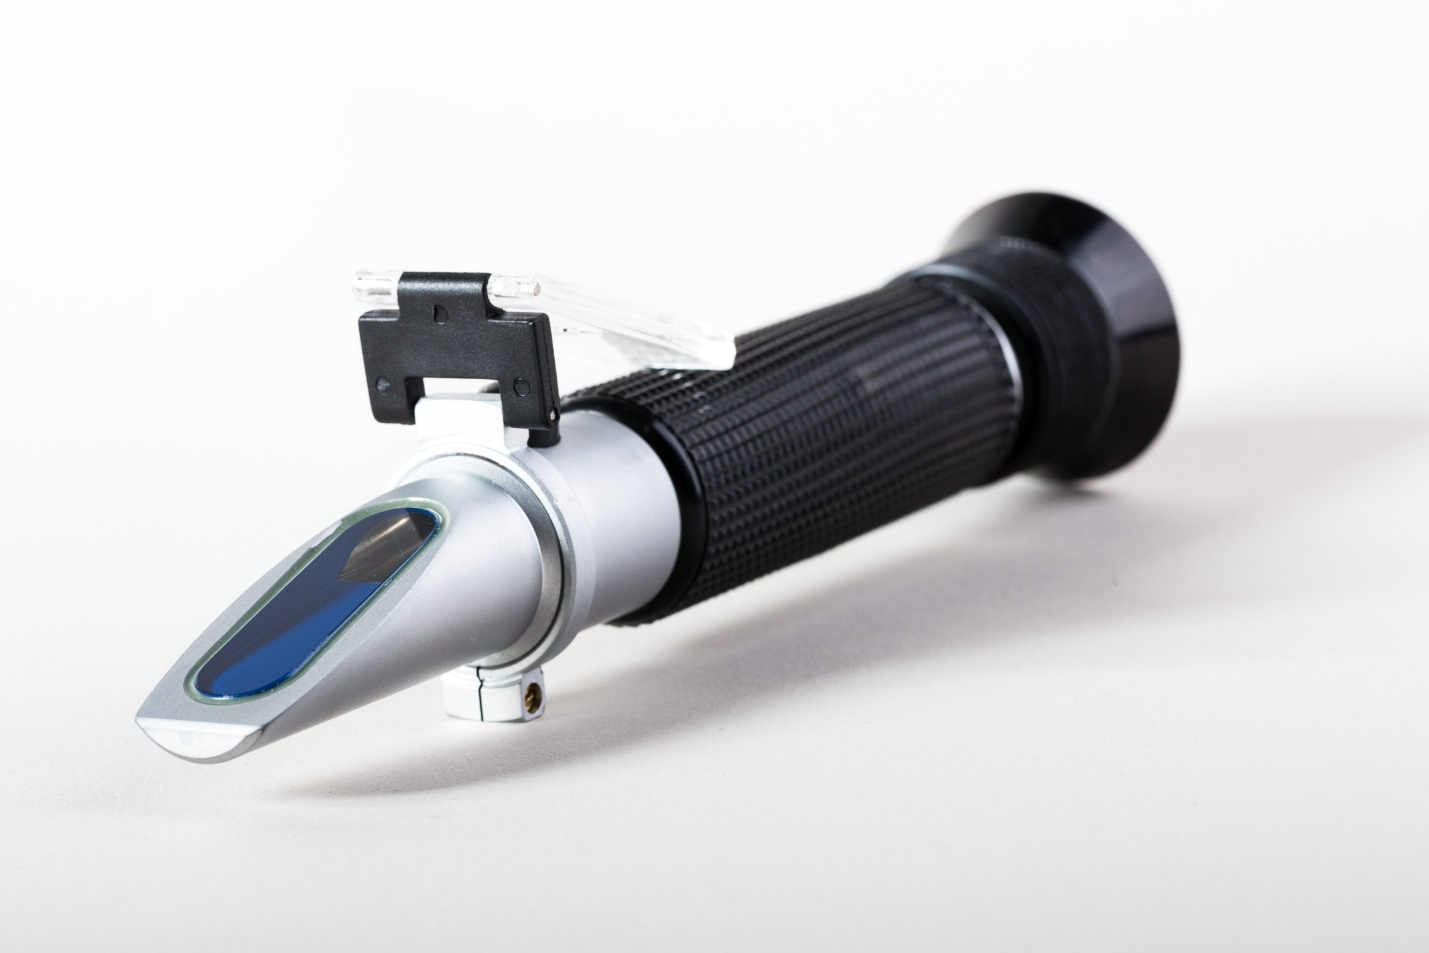
A refractometer measures the sugar concentration by analyzing how light refracts through the liquid.
1. How to Use: Place a few drops of kombucha on the glass plate and read the sugar concentration directly from the scale.
2. Pros: Only requires a few drops of liquid and is quick and easy to use.
3. Cons: Can be slightly expensive compared to hydrometers.

A Brix meter is similar to a refractometer but specifically measures the sugar content as a percentage by weight.
1. How to Use: Place a few drops of kombucha onto the Brix meter and read the result in Brix units.
2. Pros: Easy to use, accurate, and gives a quick reading.
3. Cons: A bit pricey for beginners but worth the investment for serious brewers.
While not as scientific, many experienced brewers can gauge sugar content by taste. With practice, you’ll be able to tell if your kombucha is balanced, too sweet, or too sour.
1. How to Use: Taste your brew every day after the first 5 days of fermentation.
2. Pros: No equipment needed.
3. Cons: Highly subjective and not reliable for precise sugar measurement.
For beginners, the hydrometer is the most accessible tool. Here’s a step-by-step guide on using a hydrometer to measure sugar in your kombucha:
1. Sanitize the Hydrometer: Ensure that your hydrometer and any other equipment are thoroughly sanitized to avoid contamination.
2. Take an Initial Reading: Before adding your SCOBY, take a hydrometer reading of your sweet tea. This will be your baseline.
3. Record the Specific Gravity (SG): The SG reading represents the density of sugar in your unfermented tea. Write it down.
4. Ferment Your Kombucha: Add the SCOBY and let your kombucha ferment as usual for 7-10 days.
5. Take a Final Reading: After fermentation, use the hydrometer to take another reading.
6. Calculate the Sugar Consumption: Subtract the final SG from the initial SG to determine how much sugar has been consumed during fermentation.
Stage 1: Initial Sweet Tea: The initial sugar content should be around 10-15% (or 1 cup of sugar per gallon).
Stage 2: Active Fermentation (Day 5): By the middle of fermentation, much of the sugar has been converted, leaving about 5-7% sugar.
Stage 3: Final Brew (Day 7-10): At the end of fermentation, a well-balanced kombucha should have 1-3% sugar content, depending on your taste preference.
If you’re brewing kombucha in a hot climate like Dubai, the fermentation process can happen faster, so regular sugar checks are crucial to prevent over-fermentation.
Too Sweet?
If your kombucha tastes too sweet, it likely needs more fermentation time. Check the sugar levels and let it ferment for a few more days.
Too Sour?
Over-fermentation can lead to a sharp, vinegar-like taste. To remedy this, you can add a small amount of fresh sweet tea to balance the flavor or use it as a base for a new batch.
Flat Kombucha?
If there’s little to no carbonation, it may be due to low sugar content in the second fermentation. Add a bit of fruit or sugar to kickstart carbonation.
For kombucha enthusiasts in Dubai, having access to high-quality brewing supplies is essential. That’s where Tabchilli comes in! We offer:
1. Premium SCOBYs: Our SCOBYs are fresh, active, and perfect for brewing delicious kombucha every time.
2. DIY Kombucha Kits: Everything you need to start brewing at home, including glass jars, tea blends, sugar, and detailed instructions.
3. Workshops and Guidance: Join our hands-on kombucha workshops in Dubai, where we cover every aspect of kombucha making, from measuring sugar to mastering flavors.
Whether you’re a beginner looking to get started or an experienced brewer wanting to refine your technique, Tabchilli has you covered.
Measuring sugar in kombucha is a critical step to achieving the perfect balance of flavor and health benefits. With tools like hydrometers, refractometers, and taste testing, you can fine-tune your brew to suit your preferences.
And if you’re in Dubai, visit Tabchilli for all your kombucha needs. Whether you’re looking for fresh SCOBYs, DIY kits, or workshops, we’re here to help you make the best kombucha every time.